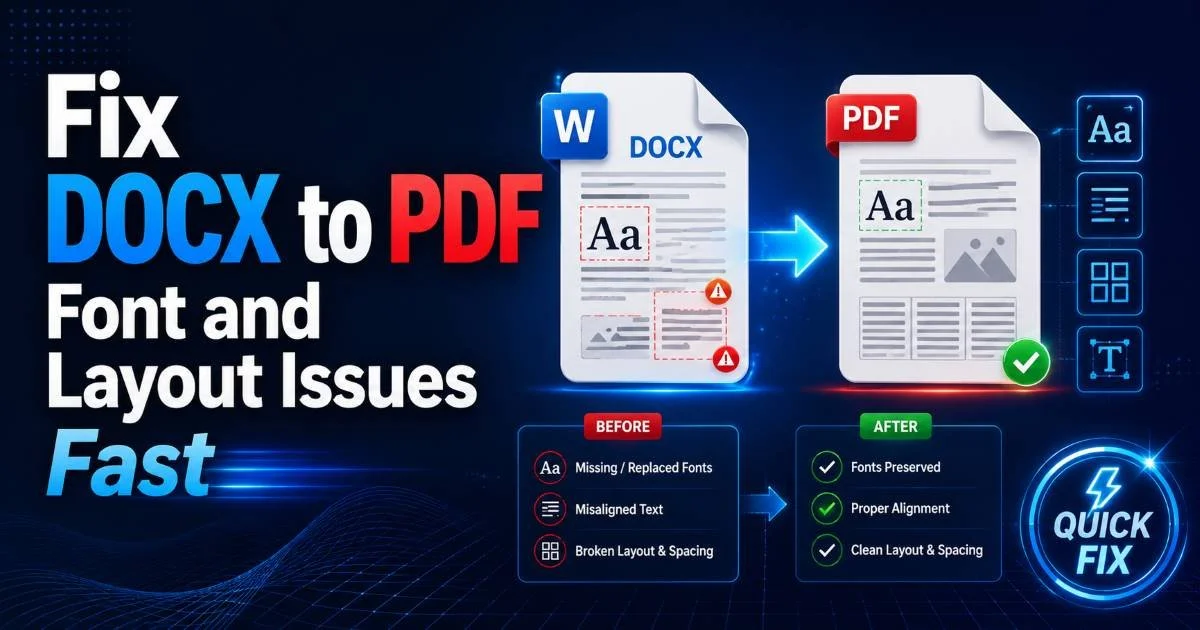
Converting a DOCX to PDF sounds like a simple task until you open the resulting file and discover that your carefully arranged tables have shifted, your fonts have changed, and your headers are sitting in the wrong place.
The truth is, most people who convert DOCX to PDF run into formatting problems at least once, and many encounter them repeatedly. Whether you're submitting a legal contract, sharing a project proposal, or distributing a company report, broken formatting undermines your credibility and wastes your time.
The stakes are real: a misaligned resume can cost you a job interview, and a corrupted invoice can delay a payment cycle. This guide walks you through the exact steps to preserve every heading, margin, table, and font when converting Word documents to PDF.
If you're looking for a solid foundation on the topic, our comprehensive guide to DOCX PDF conversion covers the fundamentals in depth.
Key Takeaways
- Embed all fonts in your DOCX file before converting to prevent font substitution in the PDF.
- Use standard page sizes and margins so layout elements survive the conversion process.
- Replace floating text boxes with inline elements to avoid positional shifts in output.
- Test your PDF on multiple viewers because rendering can vary across platforms.
- Choose a conversion tool that supports advanced Word features like headers and nested tables.
Step 1: Prepare Your DOCX File for Clean Conversion
Embed Your Fonts
Font substitution is the single most common reason formatting breaks during conversion. When your document uses a font that isn't available on the conversion system, a fallback font gets selected automatically. That substitute font often has different character widths, line heights, and kerning values, which causes text to reflow, lines to wrap differently, and entire paragraphs to shift position. The fix is straightforward: embed your fonts directly into the DOCX file before you convert it.
In Microsoft Word, go to File, then Options, then Save, and check the box labeled "Embed fonts in the file." Select the sub-option to embed only the characters used in the document if you want to keep file size manageable. This stores the font data inside the DOCX itself, so any conversion tool can access the exact typefaces you intended. Google Docs users should download their document as DOCX and then open it in Word to embed fonts, since Google Docs does not support font embedding natively.
Always embed fonts even when using common typefaces like Arial or Calibri, because version differences between systems can still cause subtle reflow.
Standardize Your Layout Settings
Before you convert DOCX to PDF, lock down your page dimensions and margins explicitly. Avoid relying on default settings, because "default" varies between Word versions, operating systems, and regional configurations. Set your page size to a specific standard like A4 (210 x 297 mm) or US Letter (8.5 x 11 inches) in the Layout tab. Confirm your margins numerically rather than choosing preset names like "Normal" or "Narrow," which can differ across installations.
Remove any manual page breaks that you inserted using the Enter key to push content to a new page. These "soft" breaks are fragile and break easily when font metrics change even slightly. Instead, use Word's built-in page break function (Ctrl+Enter) or, better yet, set paragraph-level "Page break before" options in the paragraph formatting dialog. This approach ties page breaks to specific content blocks rather than to arbitrary spacing that shifts during conversion.
Step 2: Choose the Right Tool to Convert DOCX to PDF
Comparing Popular Conversion Tools
Not all conversion tools handle DOCX formatting with equal fidelity. Some strip out headers and footers, others fail to render nested tables correctly, and a few quietly substitute fonts without warning. Your choice of tool directly determines how accurately your PDF matches the original document. For quick, reliable results, a purpose-built tool like DOCX to PDF focuses specifically on maintaining formatting integrity during conversion.
Desktop applications like Microsoft Word offer a built-in "Save as PDF" function that works well when the machine has all required fonts installed. LibreOffice provides a free alternative, though its DOCX rendering engine interprets some Microsoft-specific features differently, which can introduce spacing inconsistencies. For teams that need consistent output regardless of each member's local setup, browser-based tools eliminate the variable of individual machine configurations entirely.
If you're sharing your PDF online, the way it appears in link previews matters too. Optimizing metadata for social sharing is a separate but related concern. The team at OG Checker has published a useful resource on boosting clickthrough rates with link preview optimization, which is worth reading if your PDFs will be distributed via links on social platforms or messaging apps.
Free online converters that require no account often compress images aggressively and may strip embedded fonts to reduce server load.
Step 3: Handle Complex Formatting Elements
Tables and Images
Tables are notorious for breaking during DOCX to PDF conversion. The most common failure point is tables that span multiple pages. When a table row is too tall to fit at the bottom of a page, some converters will clip it instead of flowing it to the next page. To prevent this, enable "Allow row to break across pages" in Word's table properties. Also, set explicit column widths in inches or centimeters rather than using percentage-based or "auto-fit" sizing, which different rendering engines interpret differently.
Images need similar attention. Inline images (those placed within the text flow) convert reliably. Floating images, text-wrapped images, and images anchored to specific page positions are far more likely to shift or overlap other content. Convert floating images to inline positioning whenever possible. If you must use text wrapping, use "Square" wrapping with fixed horizontal and vertical positions relative to the page, not relative to the paragraph or margin.
| Element | Risk Level | Recommended Action |
|---|---|---|
| Inline images | Low | No changes needed |
| Floating images | High | Convert to inline or fix position to page |
| Simple tables | Low | Set explicit column widths |
| Nested tables | Medium | Flatten where possible, test carefully |
| Text boxes | High | Replace with inline content or tables |
| Custom fonts | High | Embed fonts in the DOCX file |
| Headers/footers | Medium | Avoid complex fields, test page numbers |
| SmartArt | High | Convert to static image before conversion |
Headers, Footers, and Section Breaks
Documents with multiple sections, where headers and footers vary between sections, add another layer of complexity. Each section break in Word creates a new set of header and footer definitions. If your converter doesn't fully support Word's section model, you may see the wrong header on certain pages, or page numbers might reset unexpectedly. Review each section break in your document and confirm that headers and footers display correctly in Print Preview before converting.
Field codes like {PAGE}, {DATE}, and {FILENAME} should update correctly during conversion, but custom field codes and calculated fields sometimes fail. If your document uses complex field expressions, consider converting those fields to static text before exporting. Select the field, press Ctrl+Shift+F9 in Word, and the dynamic field becomes fixed text that will survive any conversion process without surprises. This small step can save significant debugging time later.
"The best time to fix formatting problems is before you hit the convert button, not after you've already sent the PDF."
Step 4: Verify Your PDF and Troubleshoot Common Issues
Visual Inspection Checklist
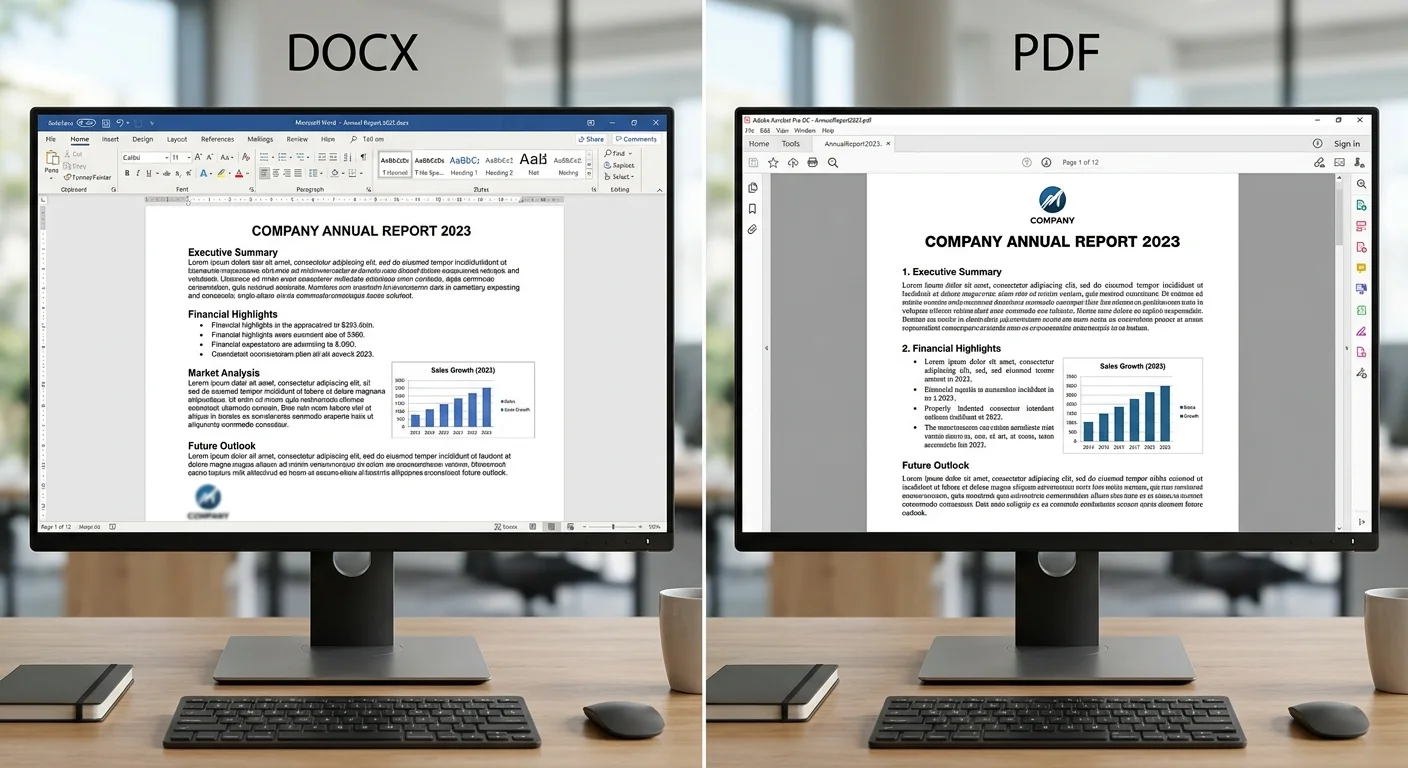
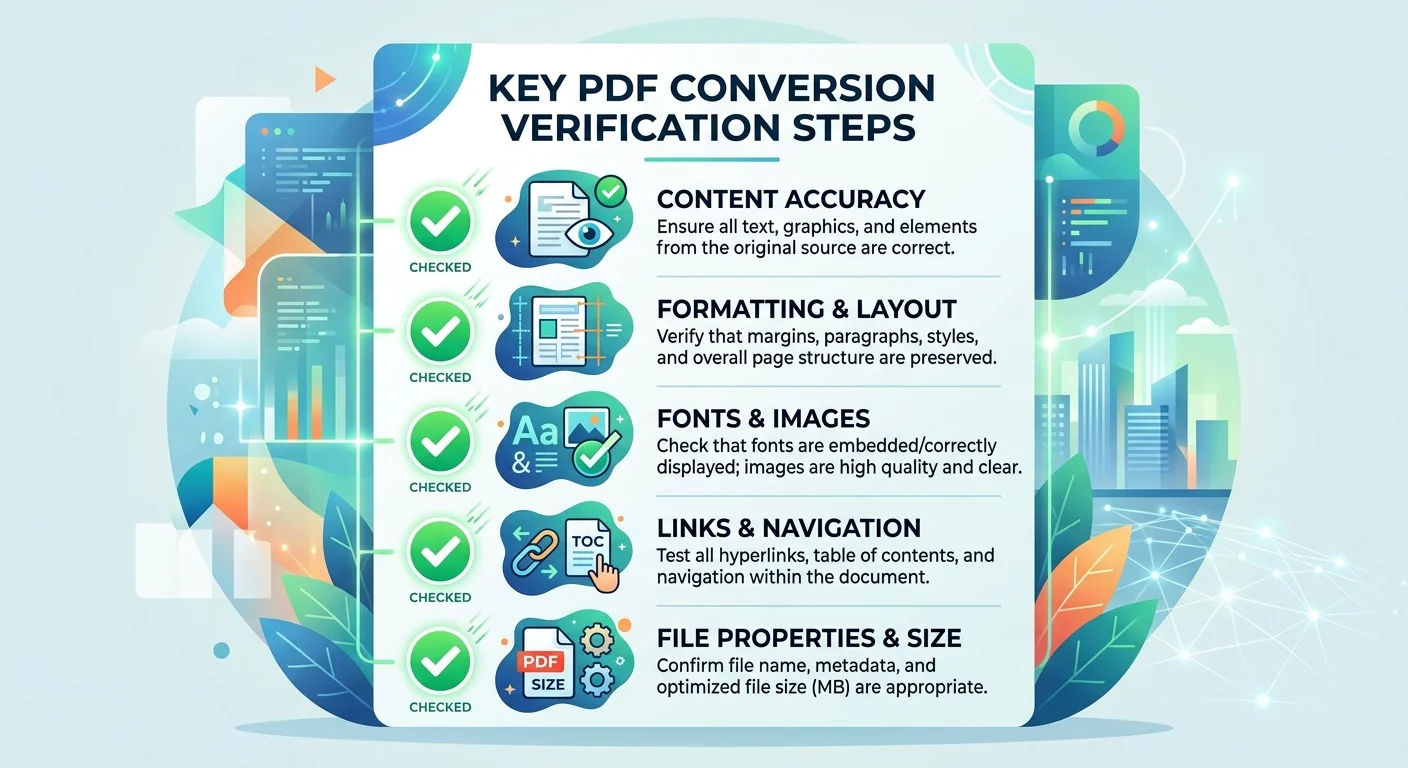
After conversion, don't just glance at the first page and call it done. Open your PDF and systematically check every page. Look specifically at page boundaries where content transitions from one page to the next, because that's where tables split, images jump, and spacing collapses. Compare your PDF side by side with the original DOCX at the same zoom level. Pay particular attention to the last line of each page and the first line of the following page to catch any reflow problems.
Check that your fonts rendered correctly by selecting text in the PDF and looking at the font name displayed in your PDF viewer. If you see a font name with a suffix like "ArialMT" when you expected "Arial," that's acceptable (it's the PostScript name). But if you see a completely different font name, your embedding failed. Adobe Acrobat Reader's File, Properties, Fonts tab lists every font used in the document and whether it's embedded, which makes this verification quick and definitive.
Fixing Common Problems
When text reflows and paragraphs end up on different pages than expected, the root cause is almost always a font metrics mismatch. Go back to your DOCX, embed the fonts (if you haven't already), and reconvert. If the problem persists, try a different conversion tool. Different engines handle font fallback differently, and switching tools often resolves persistent issues. For documents you process regularly, like monthly reports or recurring proposals, establish a tested workflow and stick with it.
If your converted PDFs will be read on various devices or processed by AI-powered tools, accessibility and readability matter beyond just visual formatting. Tools like the best AI reader solutions can help verify that your PDF content is machine-readable and properly structured. This is especially relevant for documents that need to be parsed, indexed, or summarized by automated systems after conversion.
Never assume a PDF looks the same on every viewer. Test on at least two different PDF readers (such as Adobe Reader and Chrome's built-in viewer) before distributing.
Frequently Asked Questions
?How do I embed fonts in a DOCX file before converting to PDF?
?Is Microsoft Word better than Google Docs for converting DOCX to PDF?
?Does embedding fonts significantly increase the PDF file size?
?Why do tables still shift even after I embed fonts correctly?
Final Thoughts
Getting a perfect PDF from a Word document requires preparation, the right tool, and a brief verification step. The time you spend embedding fonts, standardizing layouts, and converting floating elements to inline positions pays for itself many times over.
You now have a repeatable, four-step process to convert DOCX to PDF while keeping every formatting detail intact. Apply these practices consistently, and formatting surprises become a problem you simply don't have anymore.
Disclaimer: Portions of this content may have been generated using AI tools to enhance clarity and brevity. While reviewed by a human, independent verification is encouraged.